

Introducing scrums, part 1
It's no secret I love scrums. Here's some of the methods I use when introducing new players to the wonderful world of scrummaging. Part 1 looks at individual and 1v1 activities.

I love scrums, but they can seem a little scary when players are first learning them. There are a few activities that I use to help players build up confidence within scrums, recognise their own power and develop technique. These activities focus on individual and work in pairs.
These are also useful if players have scrummaged before. Returning to focus on basics within scrums is important. Individual body positions are the foundation of the scrum.
If the foundation of a house isn’t firm, then the house collapses. It’s the same with a scrum. These are fundamentals that look at neck strength and body positioning.
If you’re coaching these across different sessions, I would recap a previous stage or stages, ensuring players are safe, before moving onto the next activity.
I also use the first stage (bearcrawls) as an movement that I continuously return to across a season. It’s important that the fundamentals and the basics of movement are covered constantly, especially with players new to the sport.
Bearcrawls
Bearcrawls is a fundamental position that helps players for different types of contact. It is included within World Rugby’s Contact Confident because it can help develop neck strength.
Neck strength is an area of development for contact players, particuarly female players. Using bearcrawls at training not only helps scrums but players overall conditioning as well.
The level 1, 2 and 3 neck strengthening activities from Contact Confident are great to use as part of a progressive programme. You can also include bearcrawls in games, they work great as a stage in an assault course for example.
Here’s some technical details to help players concentrate on:
Neutral head
Feet shoulder width apart
Knees bent
If the player’s back isn’t flat, see if they’re able to move their feet further away from their shoulders and bend their knees.
Bearcrawl drive
This is a direct follow on from bearcrawl movement activities. For this activity you need a column out for a player. The player attempts to push the column whilst in the bearcrawl position.
Players place their hands on the end of the column and push. This will place their technique under pressure, but it will also help them discover the power they have and how a low drive/bearcrawl can help them unleash their power.
There might be a temptation for the player to lift their head up to see how far they’ve pushed or where they’re pushing. This means their head rises out of neutral. It’s important to help players be mindful of this and ensure the head remains neutral.
Here’s some technical details to help players concentrate on:
Neutral head
Small steps to power forward and maintain good body position
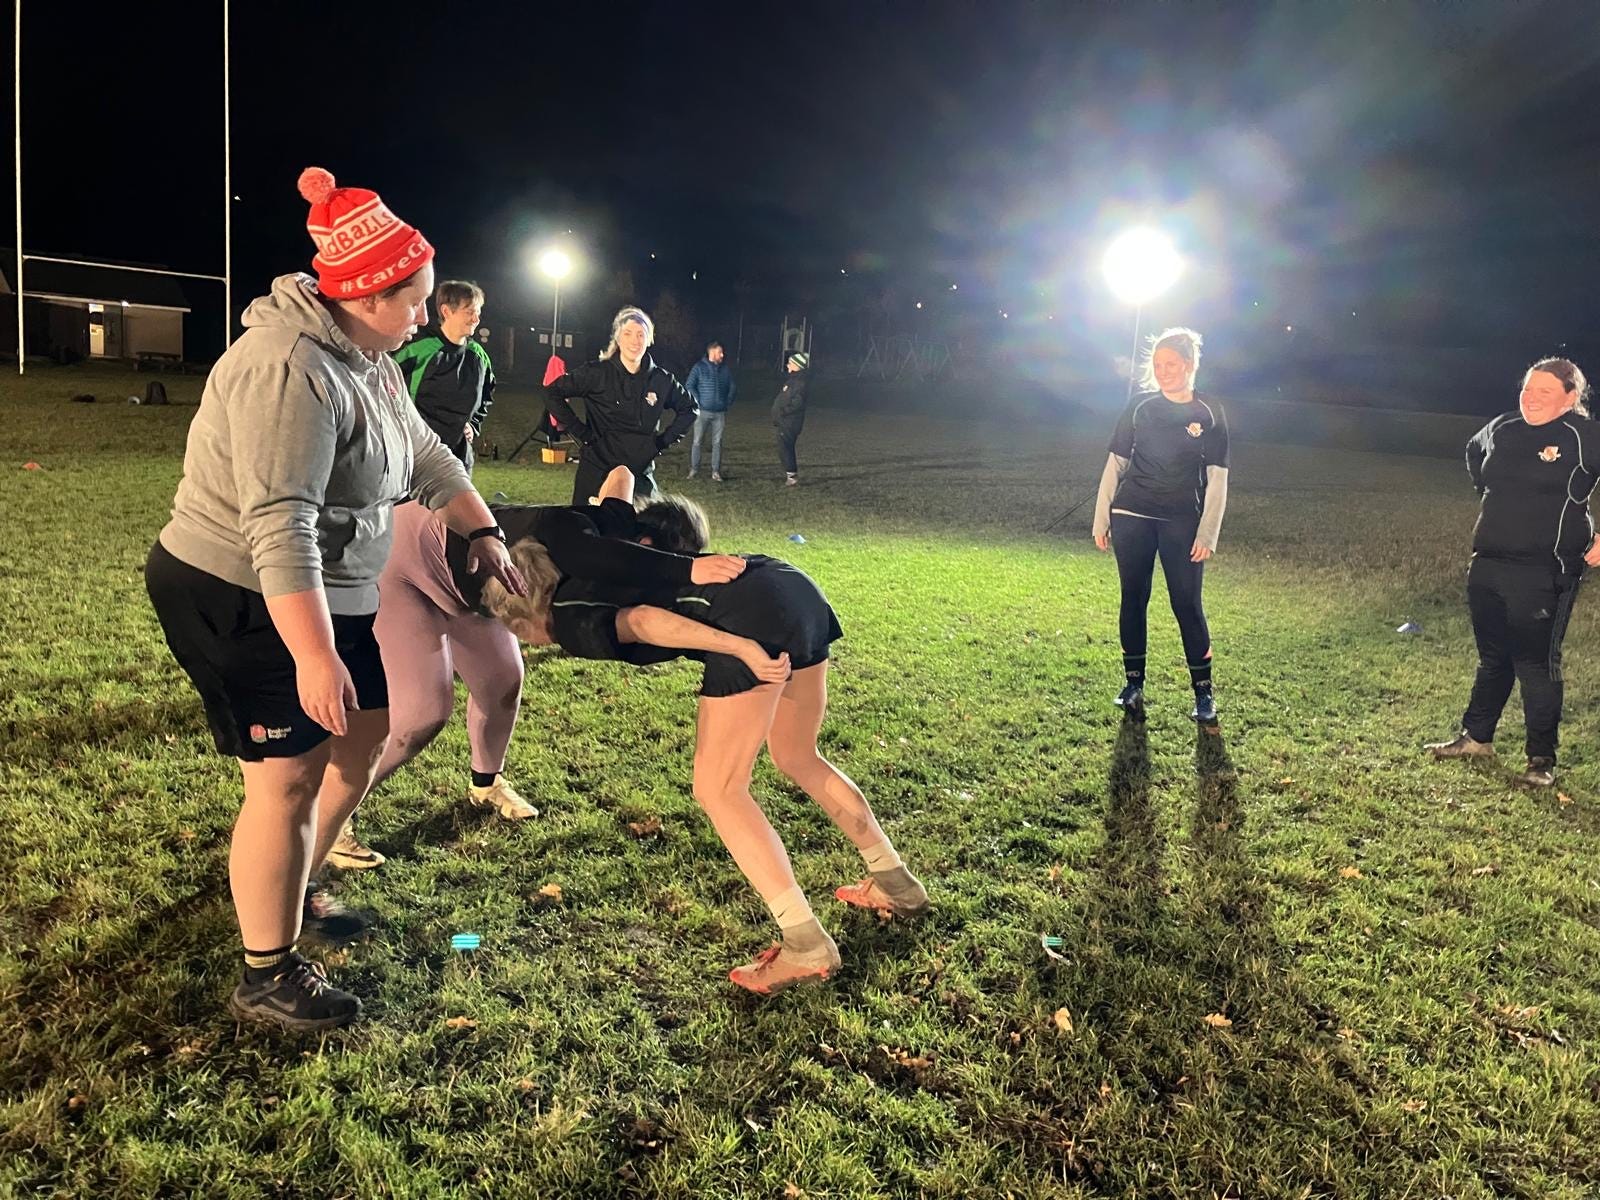
1-on-1 lean
This activity enables players to use the fundamentals from the bearcrawl but with a partner. I always stress that this aspect is not a competition but a chance to lean against each other.
The picture above shows players getting into the lean position. The next step would be players setting their feet back to lean onto their partner. Another example is the image at the top of the page.
Think of it as players binding in a bearcrawl position to form a bridge. Players bind to each other and lean onto each other.
The aim is for players to support each other. I talk players through each step, particuarly the long bind, ensuring they set their feet back and keep their knees bent.
Encourage players to talk to each other, whilst you go round and give feedback. The most common technical point I focus on is for players to move their feet back more.
This is due to confidence, especially if the activity is new to players. It can be initially unnerving to lean forward
Here’s some technical details to help players concentrate on:
Feet back
Knees bent
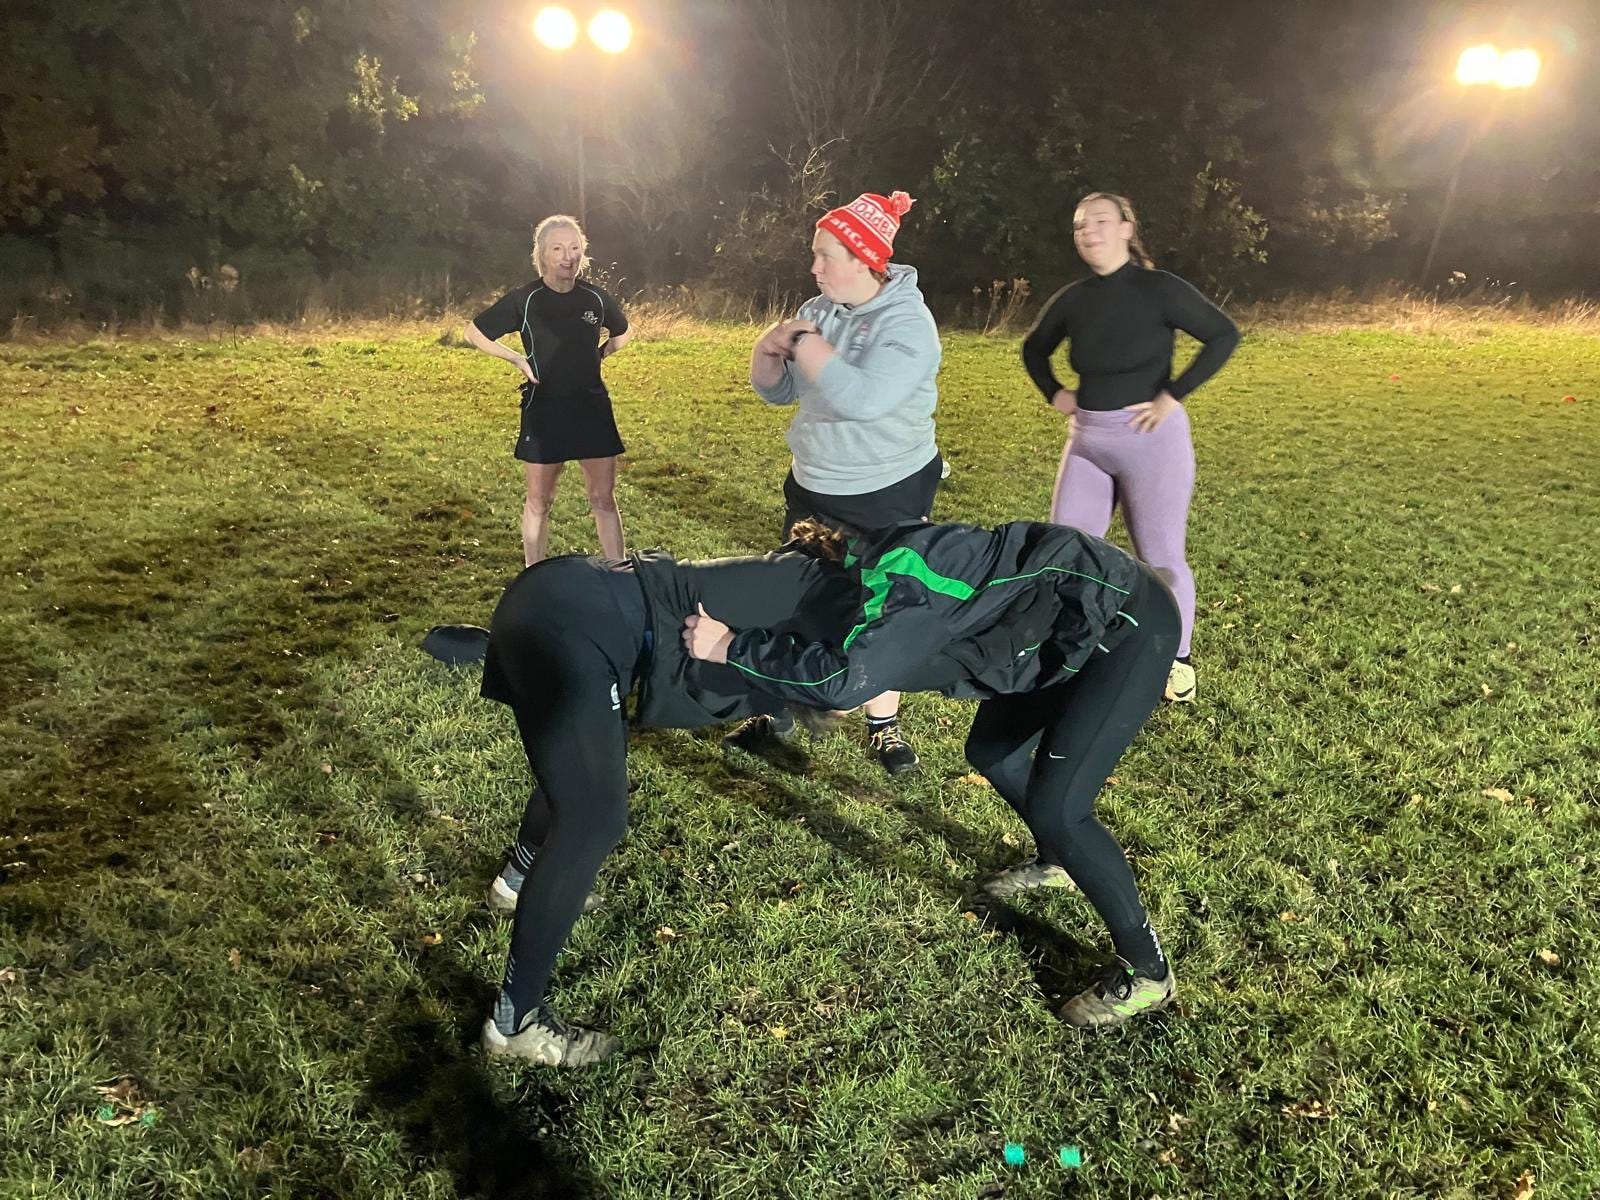
1v1 compete
The process is very similar to the previous lean stage. In fact, I ask players to repeat the previous stage as a set up before they compete. Players set themselves up, bind on each other, lean into each other.
When they’re both ready, they compete against each other to try and drive each other back. Players have to try and maintain their body shape, under pressure and drive forward.
I often ask players to reflect on what works best: short steps or big steps? I demonstrate how one big step can destablise a body position, particularly the angle of the hips.
Here’s some technical details to help players concentrate on:
Small steps
Hips square
Scrum queen of the ring
By this stage, all players should be proficient in the 1v1 work. This activity is exactly the same as the 1v1 compete. However, this is a group-wide competition.
Players form a large circle (the ring). Two players step into the ring. They go through their set up process and do a 1v1 compete. The winner remains in the ring to compete against the next person.
This process continues until everyone has had a turn. The winner of the last round is the overall scrum queen of the ring.
When coaching this activity, I stand in the ring. I ensure both players are bound and feel comfortable before the drive starts. I also usually call when to drive so that both players know when to start.
The winner is the person who drives their opponent back. If there is a tie, no one moves or both players’ body heights rise, then the 1v1 scrum is reset.
This activity puts players’ individual body shapes and techniques under pressure through two ways: fatigue and different opposition.
Players may be scrummaging against different players than the person they’ve partnered. If they stay in the ring a few rounds, they will also begin to get fatigued, which allows players to focus on maintaining technique when tired, similar to game day.
Keep a look out for part 2 which will feature introduction to scrum activities involving 3 or more players with contributions from James Clark.
If you’re unable to sign up for regular paid subscription, you can buy me a (greatly appreciated) coffee